
How To Trim Your Own Hair
If you’ve stumbled across this post, my guess would be that you’re in a pickle where you likely need your hair cut, but something is holding you back from going to the salon to have it done. While we’re a bit out of the pandemic and that isn’t likely the reason anymore, maybe you just can’t afford or justify paying for a minimal trim right now. So in this post I’m going to go over everything you need to know about how to trim your own hair.
Below you can watch my Youtube video where I break down everything talked about in this post. Keep in mind that I made this video while shut down on quarantine, and it was one of the very first videos I ever made. So cut me some slack with the quality! 😄
Is it a good idea to trim your own hair?
Now I want to first point out that I don’t really recommend cutting your hair yourself. I’ve seen many at-home-chop-jobs that I wouldn’t wish upon my worst enemy. That being said, I know that many of you are going to do it yourself regardless if I tell you not to. So I figured it would be best to make a video giving you a demonstration to at least help you not mess it up too badly.
I always believe that when it comes to split ends, damaged hair, and breakage; that a bad haircut is indeed better than no haircut. Because if you don’t get those damaged ends off, they’re going to continue to split and travel up the hair strand. This is not good, and leads to severe breakage throughout your entire hair.
If this ends up happening, when you do finally go into the salon and ask for the “dead ends” to be cut off, you’ll likely need half of your hair cut off, not just the ends. If the split ends have traveled halfway up your hair, trimming an inch isn’t going to make a difference at all.
So this is why I say that a bad haircut is better than no haircut when it comes to split ends and breakage.
Now all that being said, I don’t recommend attempting to put layers into your own hair. I’ve just seen this go wrong way too many times. I’ve even screwed up my own hair attempting this and I’m a hairstylist. So in my video demonstration I show you how to trim the bottom ONLY. This will at least help the length of your hair and hold you over until you can make it into the salon.
Before you get started
Now before you dive right in and get started, there are a few key points you need to hear first. You’ll need to make sure you have the right tools before you attempt this. As well as a few important tips for the process.
What scissors to use when you trim your own hair
***Since I’m sharing the products that I love to use with you guys, this page includes affiliate links to these products. If you take action and purchase a product through clicking one of my links, I’ll make some commission money from it at no extra cost to you. This enables me to be able to continue giving you awesome hair tips, so thanks! ***
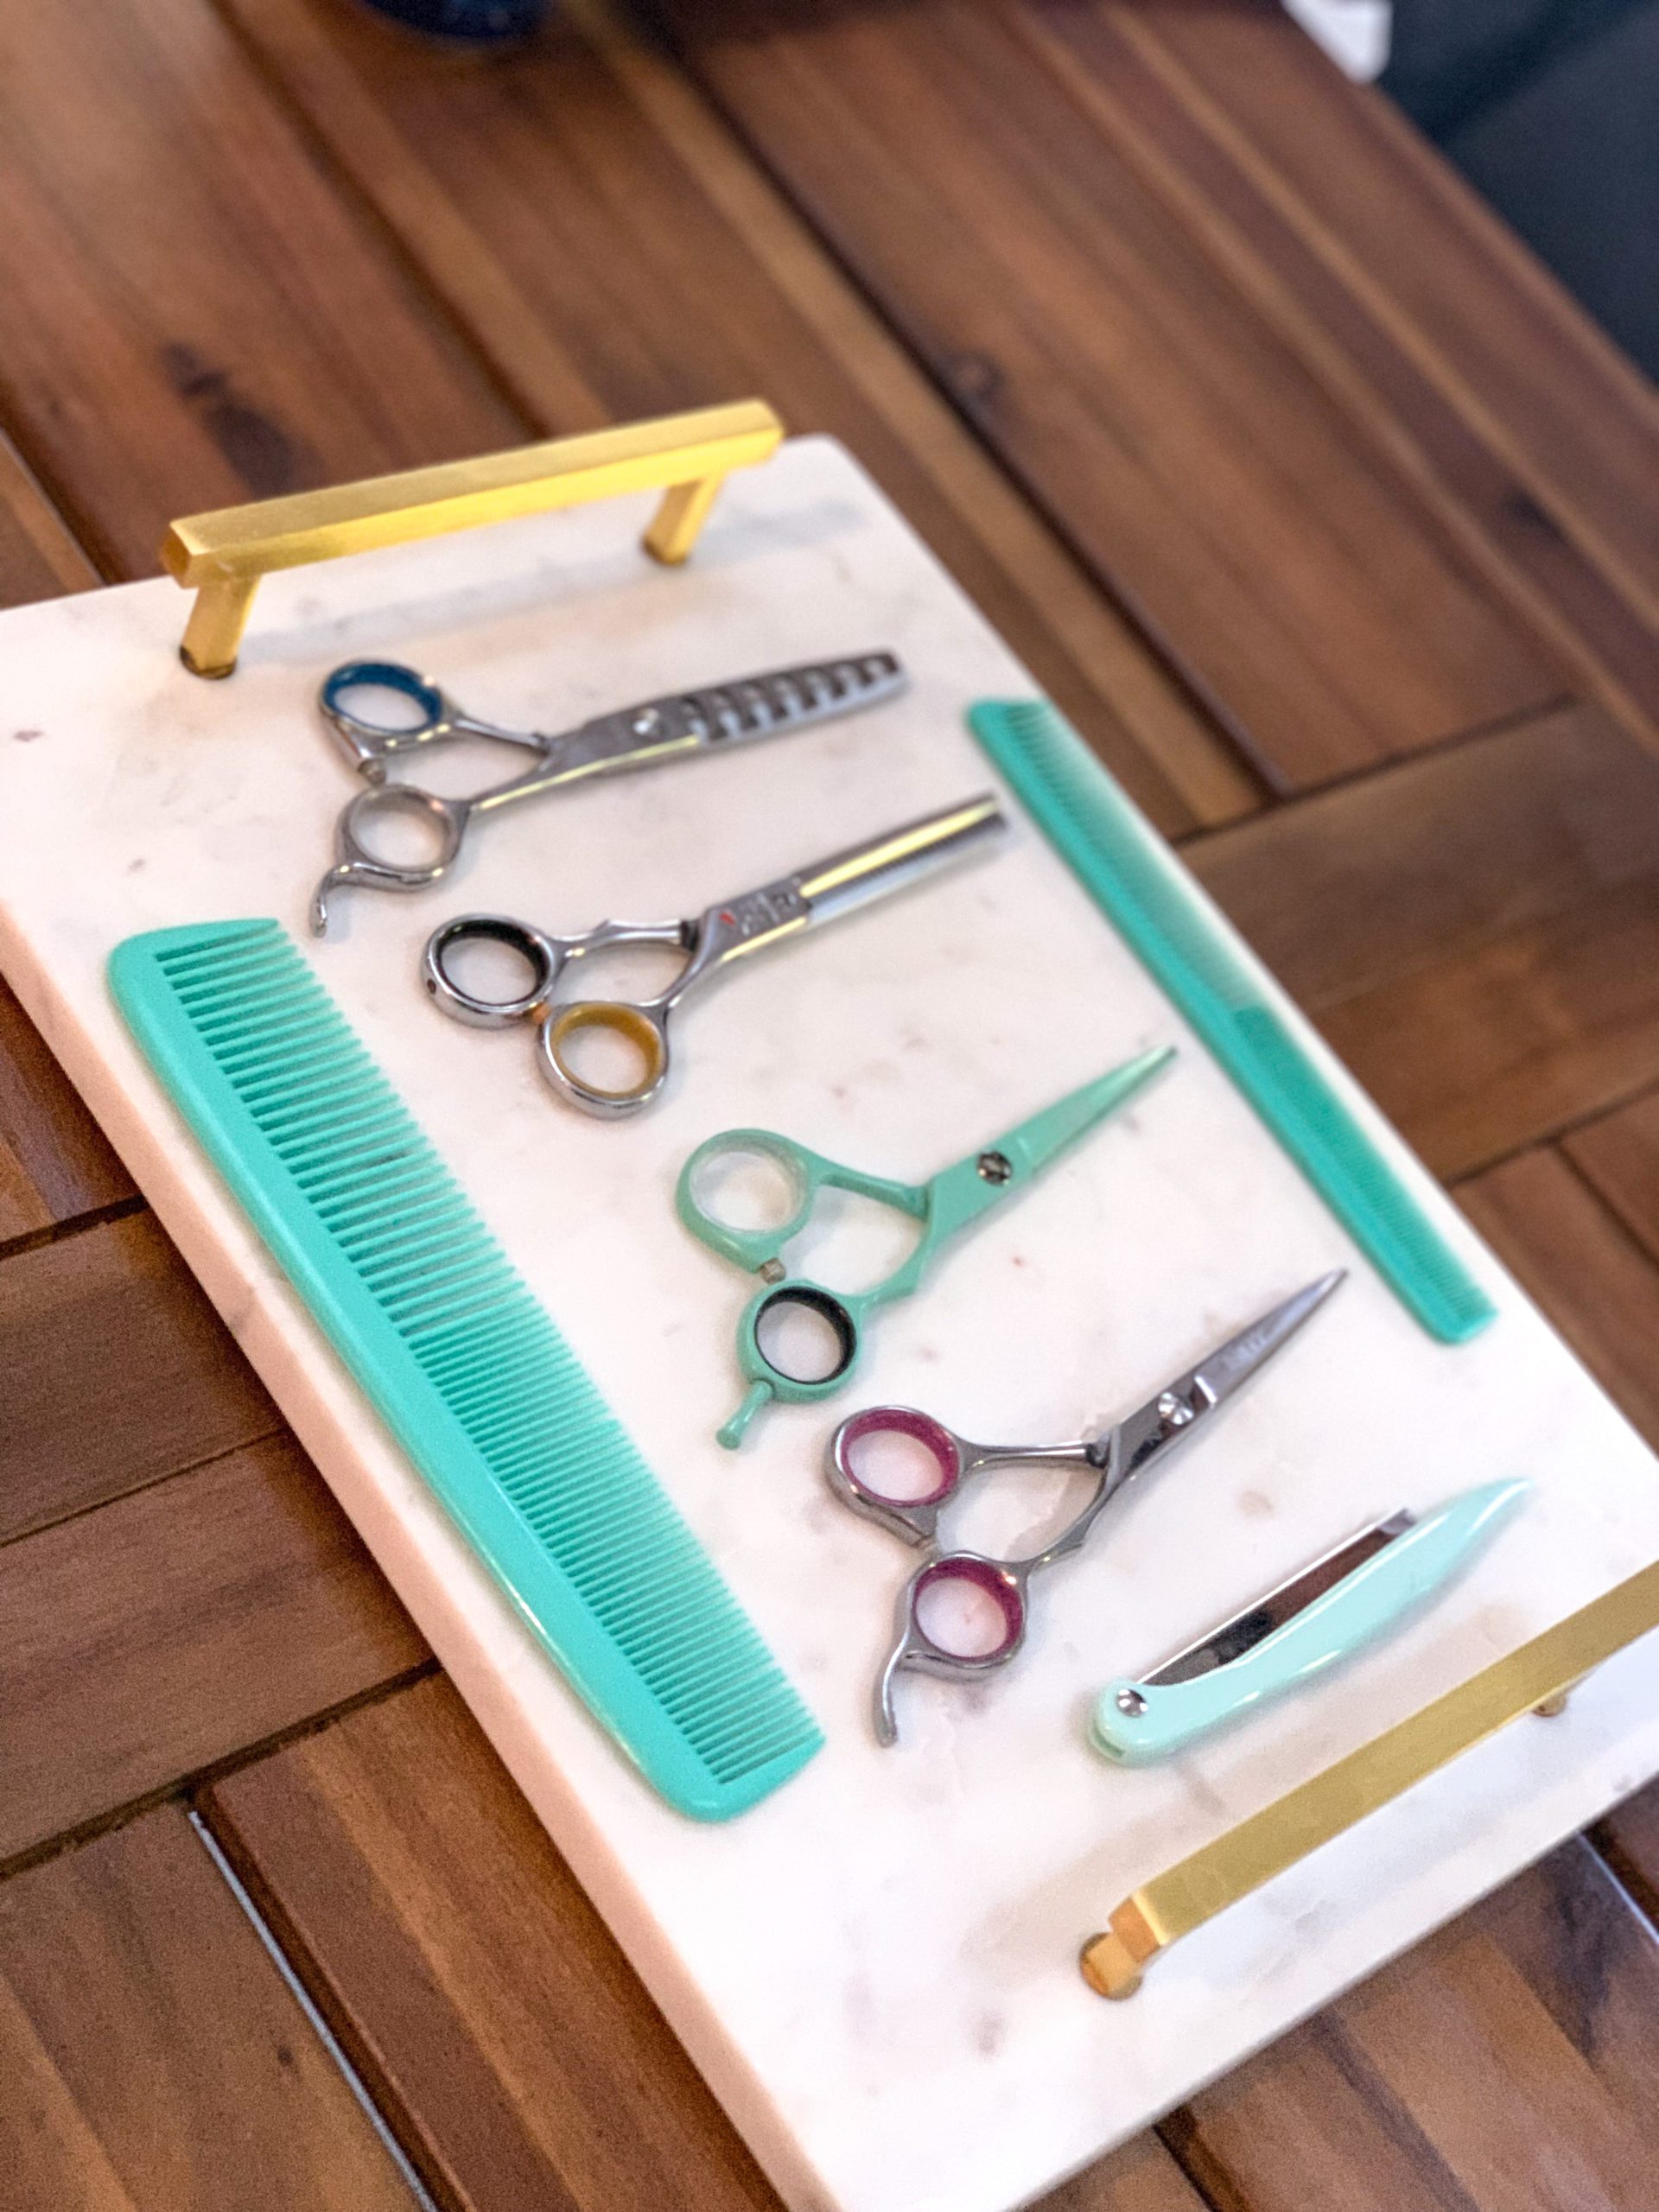
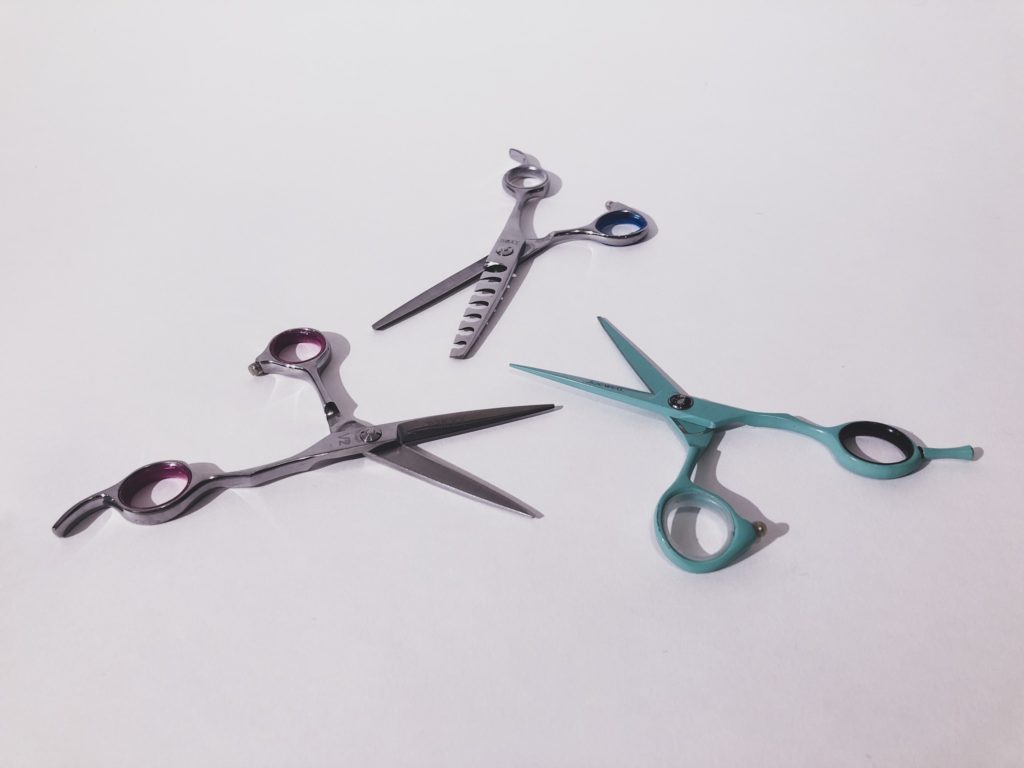
When you trim your own hair, you must use specific hair cutting shears. You CANNOT use regular kitchen shears. The shears must ONLY be used for cutting hair. You can’t go back and forth cutting different materials with these scissors.
If you do, the shears will dull and can become damaged in certain areas, causing an uneven and rough cut. If the shears aren’t sharp enough, the hair can actually become damaged and split right then and there. This is why specific hair cutting shears are so important.
Since you aren’t using them on a daily basis on 15 different clients, you can use a cheaper pair of hair cutting shears. I recommend starting with a straight shear as well as a thinning or texturizing shear. Below I’ve linked a few options.
Cut your hair dry, NOT wet
Now, I know this may be confusing because your stylist usually cuts your hair wet (at least at first) not dry, but let me explain why.
When your hair is wet, it is stretched out. So it always appears longer when wet then dry. It can actually stretch 50%+ of its original length when wet. So if you cut your hair when it’s wet, you’re likely to cut off more than anticipated.
It’s also easier to see the split ends and determine how much of your hair is damaged when it’s dry than wet. When you can see what needs to be cut, you’re not guessing where to cut.
I recommend cutting your hair when it’s freshly clean, dry, and straight. This will help you to keep the line even and clean.
How to cut your hair yourself
Now we’re going to dive into the process of how to trim your own hair. I’ll break these down the best I can in the next few sections, but I highly recommend watching my Youtube videos on this. Below is another video where you can watch how I trim my hair myself without an explanation.
What angle to hold your hair when you cut it
The angle you hold your hair when it’s cut probably isn’t something that you thought about, but it is EXTREMELY important in how your haircut comes out. Since we aren’t doing any layers, you need to make sure that you’re holding your hair straight down when you select what hair is going to be cut next.
Once you have the selected hair in your fingers, you can then pick the hair up if it’s easier, but make sure that none of the hair moves from where you’re holding it. You may need to constantly remind yourself as you’re going through the haircut to make sure you hold the hair straight down.
Take small sections and make tiny cuts
When you take each section, understand that the smaller the section the better. At first you will likely grab way too much hair to begin with. But starting small is much better to avoid making ant drastic mistakes.
I also recommend cutting off the tiniest amount to begin with. Cut off only what is necessary. Do your best to follow the haircut that you currently have by taking off the same amount of hair all the way around.
After each cut, hold it against all the previously cut hair and look for any imperfections.
Checking the cut
After each side is finished, make sure you check the evenness by holding the hair against the other side. Take all of your hair to one side and check for anything out of place. Then pull it all to the opposite side and check it again. You’re looking for stray strands that appear out of place.
When you’ve checked it all against the sides, you’ll now need to check the back. I highly recommend having someone help you do this. You’ll likely have a small section of hair in the center of the back that will need snipped.
Be sure to look forward and all the way down while someone checks the evenness in the back. I used to have my ex do this for me, so don’t worry about them not having hair cutting skills. Have them watch the video and follow what my ex did to my hair.
If you don’t have someone to do this part, don’t worry about it. It really isn’t 100% necessary if you’ve checked it up front. It just gives you an extra layer of protection against unevenness.
Conclusion
While I don’t highly recommend you to trim your own hair, I do believe that a bad haircut is better than no haircut when it comes to split ends and breakage. That being said, you shouldn’t attempt to put layers into your hair yourself. Just trim the bottom ends to remove any damaged pieces.
Before you get started, be sure to purchase specific hair cutting shears that will ONLY be used on hair. You’ll want to wash and dry your hair, making sure that it’s clean, dry, and straight for the cut. This will help you cut off only what’s necessary.
Be sure that you hold the hair straight down when selecting the hair that needs to be cut. This will help you avoid from putting in any unintentional layers into the hair.
Take small sections and cut off very small amounts at a time. The less hair you work with, the less risk there is for making an irreversible mistake.
Check the cut on both sides. If you have someone else available, have them check the back of your hair. If you checked the hair all held forward you can skip this step, but it will give you an extra layer of protection against unevenness.
Leave me any questions you have in the comments. And make sure you subscribe to make everyday a good hair day!
share item
