
How To: Bronde Balayage In 3 Steps
If you’re a brunette but are looking for a little bit of brightness without going totally blonde, then this post is for you. Today I’m going to cover everything you need to know about bronde hair, including how I create this look on my clients.
Below you can watch my Youtube video demonstration for achieving this beautiful hair color.
What is bronde hair color?
If you can’t tell by the name, bronde hair is a mixture between blonde and brunette. This is typically someone that is naturally a brunette and gets blonde balayage, foilayage, or highlights to enhance their hair color.
To learn more about the different highlighting techniques such as balayage and foilayage, see my post here.
***Since I’m sharing the products that I love to use with you guys, this page includes affiliate links to these products. If you take action and purchase a product through clicking one of my links, I’ll make some commission money from it at no extra cost to you. This enables me to be able to continue giving you awesome hair tips, so thanks! ***
How to maintain bronde balayage?
Balayage is one of the lowest maintenance hair color techniques available today. So this color choice is a great one if you’re looking for a hair color that will last you a long time, without the need to visit the salon for frequent touch-ups or high maintenance at home care.
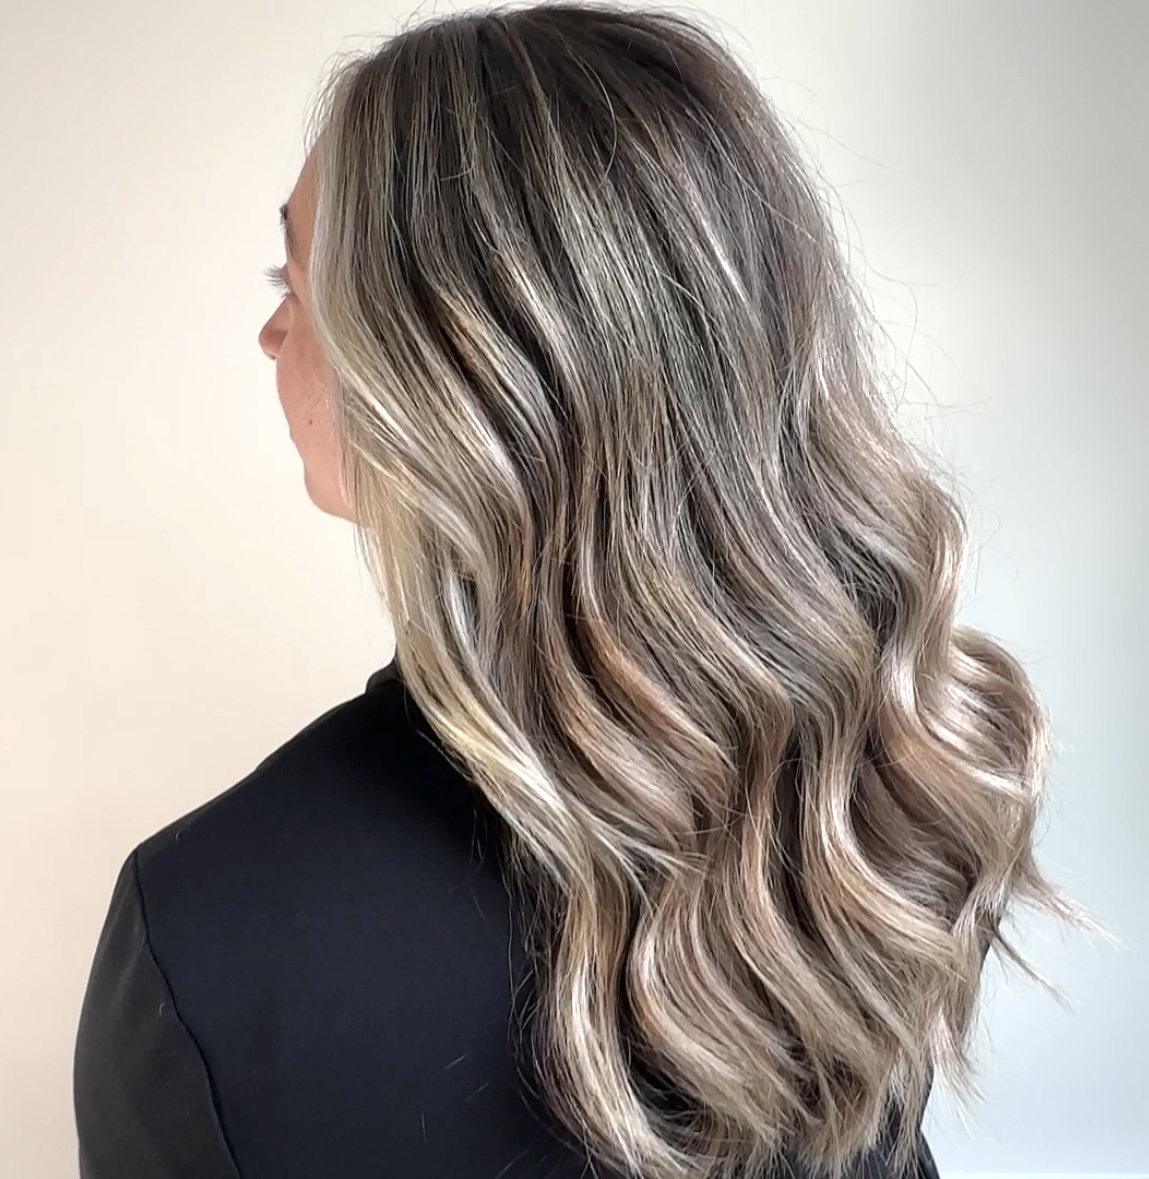
In the color example in the photos and Youtube video mentioned above, this client had gone 8 whole months since her last color appointment. And she was still receiving compliments on it too! I have actually seen clients go an entire year between getting their balayage redone.
And I don’t consider this a bad thing or pushing it out to far, I instead consider it a job well done because the color lasted so long.
Some clients choose to come in for toners in-between balayage services, but others will maintain the color themselves at home just with the use of purple shampoo.
You can find my favorite purple shampoo here, and the conditioner here.
To learn more about low maintenance hair color options, see my post here.
The process of a bronde balayage
I want to point out that there are a zillion ways to achieve a certain look when it comes to hair color. There is not one right way or technique to use. Technically for this color, I used a “foilayage” technique instead of a traditional balayage.
Traditional balayage is done with a clay lightener that is painted on the hair. This technique is processed either in open air or under mesh or plastic wrap. On the other hand, foilayage is done using foils but mimicking the balayage look. It is usually done by teasing the hair at the root or with custom painting inside of the foils.
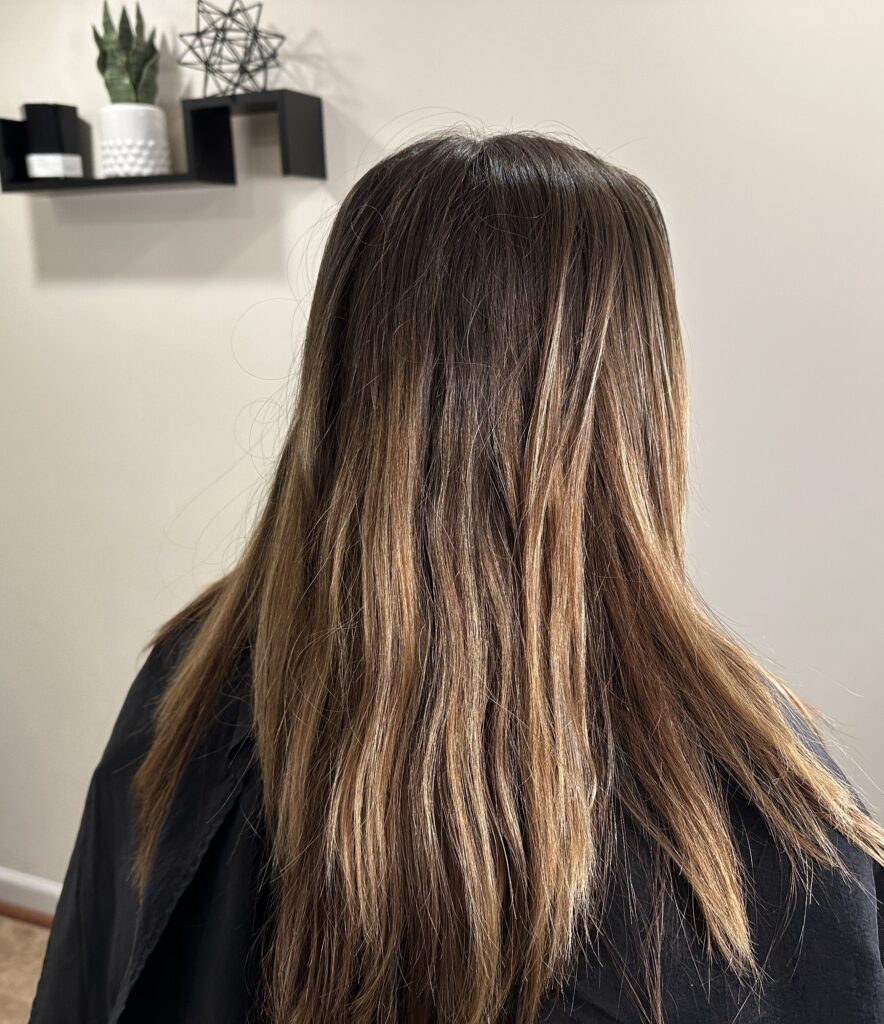
I decided to use foils because my clients natural hair color (and colored ends) are rather dark, and I like to use foils when I need to achieve a higher degree of lift. We wanted to lift her past the warmer stages and really brighten up her overall look, which is why I decided to use foils and foilayage.
Step 1: Apply lightener
The first step in this process is to apply your highlights. In this example, my client had previously colored her hair red 2 years ago, so I knew that there was some underlining red towards the ends of her hair. Even though you can’t see the red, we know that it is still present especially in the darker pieces of hair.
So I opted to highlight her hair weaving out the darker strands and lighten those pieces so that we can lighten up and remove as much warmth as possible for this session. The lighter pieces or previously highlighted hair will shift well with a toner, so we don’t need to focus on those as much as the darker pieces.
After I weaved the section, I then teased the hair to create a more seamless blend towards the root. This will create a lived-in look without any harsh highlight lines that will grow out poorly.
Before putting the hair into the foil, I paint the underneath of the section with lightener. This allows for maximum saturation, and will help the hair lighten much quicker. This is a game changer and I do this for 90% of the highlights that I do.
If desired, you can give your client a money piece by detailing some highlights closer to the root around the face. I prefer to weave the first piece, then follow that with two back to back slices. Then I weave the ending piece, and go back to foiling the hair as usual.
I also recommend bumping your developer up as you move throughout the head.
You can see how I did all of this in the Youtube video above.
Step 2: Check foils & reapply as needed
After you’ve finished the last foil, I don’t recommend setting your client under the dryer to process. I then go back and check the very first foil that I applied. At this point, you can see how well (or poorly) the hair is lifting.
In this case, my clients previously red ends needed another application than her natural color did. So I reapplied the bleach to those ends or anywhere that appeared to need some more help with lifting. This is crucial to achieve even processing.
You may come across some foils that are done processing as you work through each section. If this is the case, pull the foil out and wipe some of the bleach off to stop it from over-processing. This is common for the money piece, as those pieces of hair lift much quicker due to being fine, fragile, and sitting against the face. The face will produce more heat which will speed up processing.
After you’ve gone through and either reapplied more bleach or taken the foils out, you shouldn’t need to process the hair for much longer before rinsing. Typically 10 or 15 minutes should be the maximum amount of time needed for further processing.
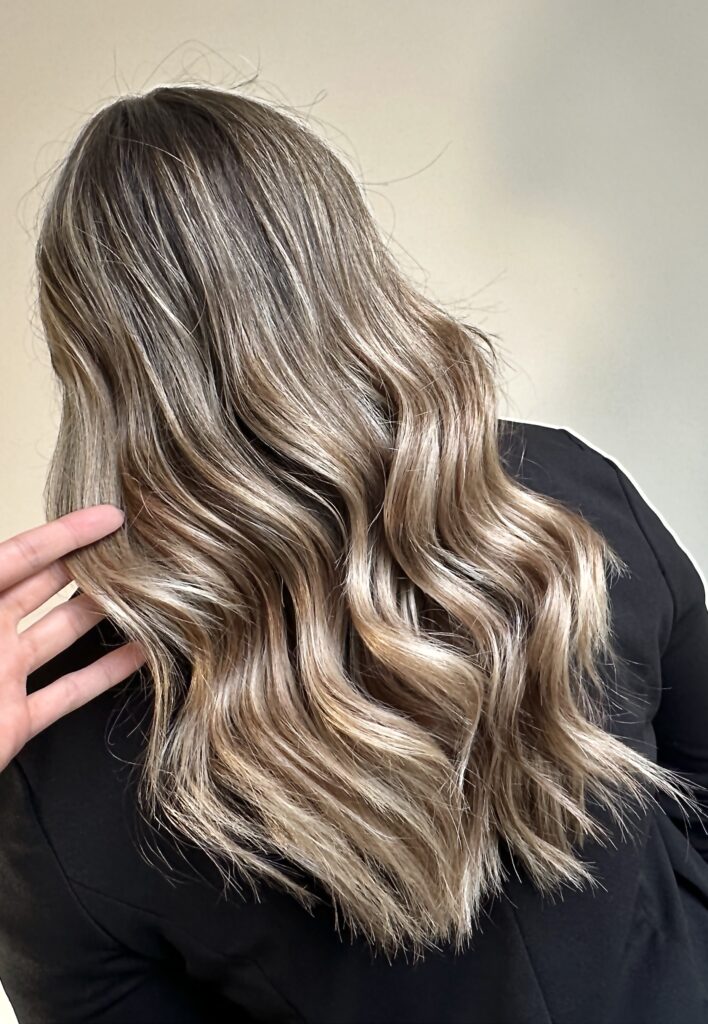
Step 3: Root shadow & tone
Now that you’ve rinsed the bleach and shampooed and conditioned the hair, it’s time to apply the root shadow and toner.
The root shadow is a darker “toner” if you will, that marries and blends the natural hair color with the highlighted hair. This is what makes hair color lived-in and low maintenance. It softens the line and allows for a seamless grow out.
On towel dried and combed out hair, apply the root shadow only to the area where the blonde meets the natural color. I also skip doing the money piece right now. You’ll then put the toner right over all of the hair. Then comb it through to blend the root shadow into the rest of the hair.
After the toner is applied, I like to go back and add the root shadow to the money piece just for the last few minutes of processing. This will allow for a slight blend without taking away from the brightness of the money piece.
Conclusion
Bronde hair color is a mixture between blonde and brunette. It’s typically characterized by a brunette with enhancing blonde highlights and balayage pieces.
This trendy bronde balayage is an extremely lived-in and low maintenance hair color. You don’t need to visit the salon frequently, and it’s easy to maintain at home with the use of some purple shampoo.
The steps for creating this hair color are as follows:
- Apply lightener in foils or with true balayage technique
- Check foils & reapply as needed
- Root shadow & toner
If you have any questions for me on bronde balayage, leave them for me in the comments! And make sure you subscribe to make everyday a good hair day!
The form you have selected does not exist.
share item
