

How to Dye Your Hair Evenly from Roots to Ends (Beginner Step-by-Step Guide)
Dyeing your hair at home can feel intimidating, especially when you’re trying to get even color from roots to ends without ending up with hot roots or patchy results. So in this beginner-friendly guide, I’ll walk you through how to dye your hair evenly from roots to ends, explaining why uneven color happens and how to avoid the most common mistakes. You’ll learn how to adjust your developer, whether to apply color to wet or dry hair, and how a professional color melt technique can help your color blend seamlessly.
This post is designed to pair with my step-by-step video tutorial (linked below), where I visually demonstrate the exact application technique. I also suggest checking out part 1, where I demonstrate how to color your roots without missing spots.
Should You Use a Different Developer for Roots vs Mids & Ends? (How to avoid hot roots)

Your goals will determine if you should use a different developer on your roots than you do on the rest of your hair. “Hot roots” are a common issue that people run into when using the same developer all over.
Hot roots are characterized by the roots taking a lighter or brighter color than the mids and ends. This happens because the scalp produces heat, which speeds up processing, causing the hair 1/4″-1/2″ from the scalp to get too light. (see image above)
If you are going darker, I usually suggest using a 5 volume on both your roots and your ends. 5 volume developer contains such a low amount of hydrogen peroxide that it doesn’t usually have enough strength to lighten the roots a noticeable amount.
10 volume developer can cause hot roots, especially on fine hair types. If you don’t know if your hair is fine or coarse, see this post here.
If you are going lighter, you should use a lower volume on your roots than you do on the mids and ends. This will allow the ends to process up to the same level as the roots of your hair. For example, if you use 20 volume developer on your roots, use 30 volume on your mids and ends.
To learn more about which developer volume you should use based on your situation, see this post here.
Should You Apply Hair Color to Wet or Dry Hair?
Your current canvas, combined with your goals, will determine if you should apply color to wet or dry hair. Water will slightly dilute the hair dye, giving it a more sheer coverage. It’s a little easier to apply color when the hair is damp, and it’s more forgiving.
Apply Color to Dry Hair If:
- You want maximum coverage
- You need full gray coverage
- You’re coloring over bleached hair
Apply Color to Damp Hair If:
- You want sheer, translucent results
- You want to blend gray, not create a harsh root line
- You’re toning
- You’re doing a color melt
- You’re a beginner
How Long Should You Leave Color on the Mids and Ends?
Now, your process time is completely dependent on the type of color that you’re using. Ultimately, you always want to follow the manufacturer’s recommended process time on the exact product that you’re using.
For the most part, semi and demi permanent colors process an average of 5-20 minutes, while permanent colors usually process longer at 30-45 minutes.
To learn more about the differences between semi, demi, and permanent color to determine which one is best for you, see this post here.
What Is a Color Melt? (Beginner Explanation)
A “color melt” is a technique that is used for dyeing hair, where the color seamlessly blends from one shade to another without a harsh line. Color melts are done by depositing color only, usually onto pre-lightened hair.
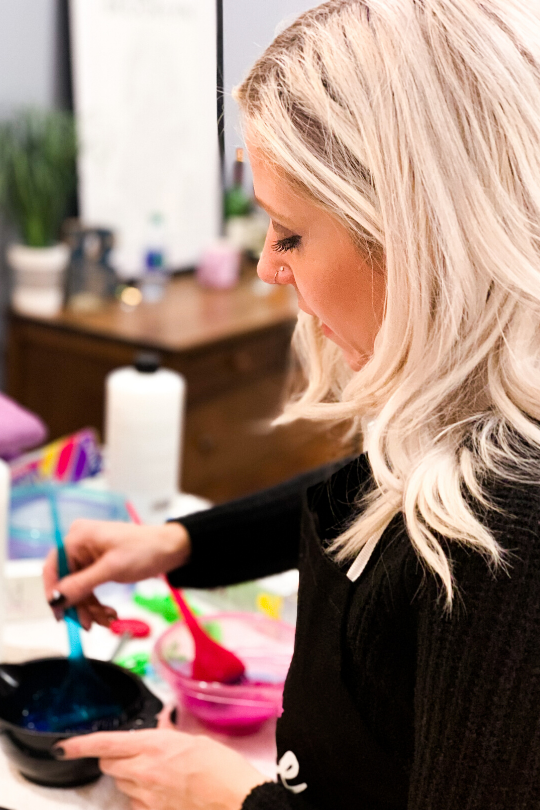
These are done by using 2 or more colors for a “melting” look, where one color seems to melt into another. In the tutorial below, I perform a color melt using 2 colors, a darker root color, and a slightly lighter mids/ends shade.
Step-by-Step Tutorial: How to Dye Your Hair from Roots to Ends
Below you can watch my YouTube video tutorial on how to dye your hair from roots to ends. I show exactly how to ensure that no spots are missed to get clean, even coverage.
***Since I’m sharing the products that I love to use with you guys, this page includes affiliate links to these products. If you take action and purchase a product through clicking one of my links, I’ll make some commission money from it at no extra cost to you. This enables me to be able to continue giving you awesome hair tips, so thanks! ***
Products for dyeing your own hair
- Hair Color Scale
- Bowl and Brush Set
- Power Painter Brush
- 5 Vol Developer
- 10 Vol Developer
- 20 Vol Developer
- 30 Vol Developer
- 40 Vol Developer
- Pravana Express Tones
- Pravana Platinum Express Tones
Conclusion
Learning how to dye your hair from roots to ends doesn’t require salon experience; it just requires understanding how different parts of the hair process color differently. By adjusting your developer strength for the ends and choosing whether to apply color to wet or dry hair, you can avoid common issues like hot roots, harsh lines, and uneven saturation.
Make sure to watch the full video tutorial above, where I show the entire process step by step. And if you’re still building confidence with at-home hair color, I highly recommend starting with the root application technique first, then moving on to pulling color through the ends once you feel comfortable.
Leave me any questions you have in the comments section, and be sure to subscribe below if you want to make every day a good hair day!
share item
