

How To Do The Teasy Lights Highlight Technique
Have ever had your hair highlighted and your stylist teased each section of your hair before applying the bleach and foil? Why on earth would she do that? In this blog post I’m going explain all you need to know about the teasy lights highlighting technique from why hairstylists do it, to exactly how it’s done.
Further below you can see my Youtube video where I demonstrate exactly how I do teasy lights on one of my mannequins.
Why does my stylist tease my hair before highlighting it?
If your stylist teases your hair during the highlighting process, this technique is called teasy lights. There are a number of different ways to get hair color results utilizing different highlighting techniques, and teasy lights are a relatively popular one these days.
What are teasy lights?
Teasy lights are a highlight technique where the hair is teased before the lightener (bleach) is applied. Usually the highlights are placed inside of foils, but you can also combine teasy lights with a traditional balayage as well for an even more seamless blend. If you don’t know the difference between balayage and traditional highlights, see my post here.
The benefits of doing the teasy lights highlight technique
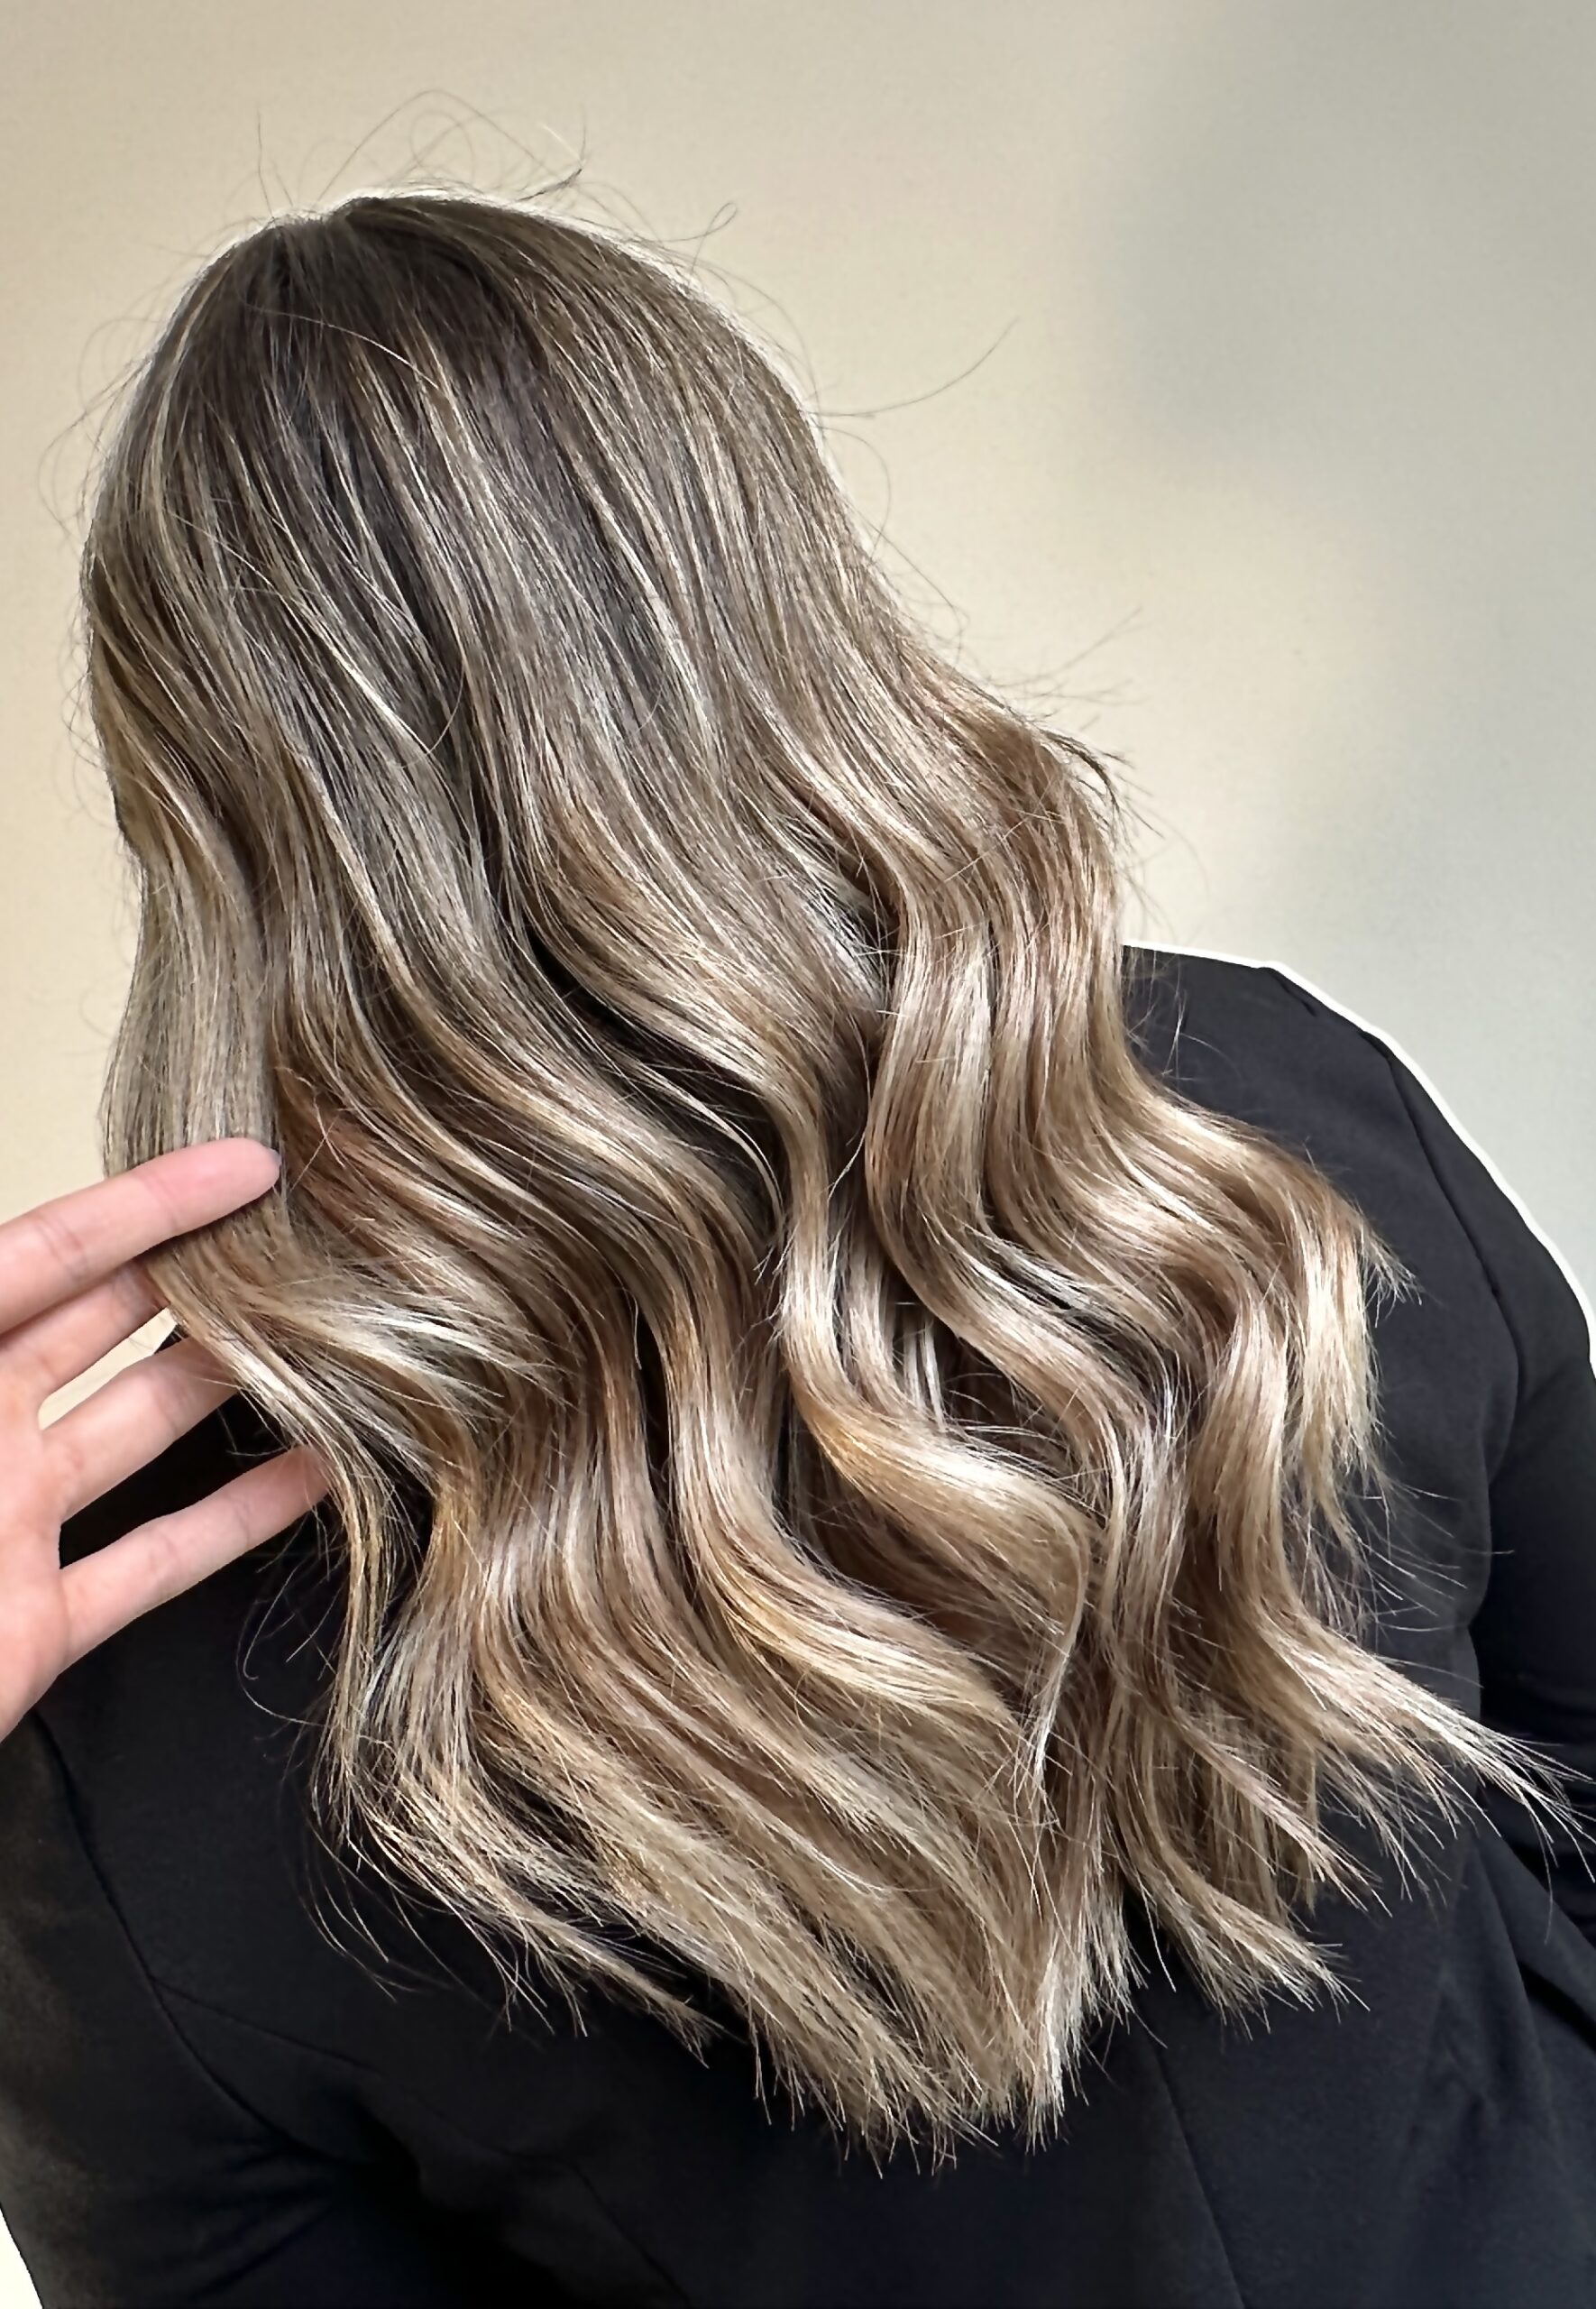
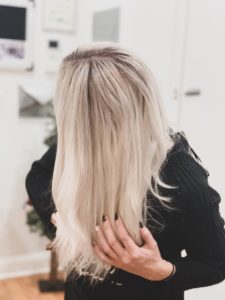
The main reason why stylists will utilize teasy lights is to attain a seamless blend between the natural hair color and the highlight color. When the hair is teased, it becomes diffused and any harsh lines from where the light hair begins and ends will be blended.
One main reason why you may choose to do teasy lights is because you can skip applying a root smudge (root shadow). If you aren’t sure what a root shadow is see my post here on toners for an explanation.
This technique can save you an entire process and will cut the color application time nearly in half. Not only does this save time, but it saves money for the client as well.
Sometimes though, I do still choose to utilize a root shadow even if I have done teasy lights. This is to ensure an EXTREMELY seamless blend where the eye cannot tell where the dark ends and the light begins.
Because the hair is so diffused at the root, this technique is wonderful for those desiring a lived-in hair color. The natural color will grow in very well because there aren’t any harsh highlight lines. This means that you can go longer between highlighting services when teasy lights are utilized.
To learn more about low maintenance and lived-in hair color see my post here.
The negatives of teasy lights
Now that I’ve talked this technique up, it’s time to talk about the downsides of teasy lights.
Tangles
In my opinion, there aren’t many downsides to this hair color technique. But the main thing I have experienced with certain hair types is that the hair can be hard to untangle.
Certain hair types are tangle-prone. Specifically long, fine, and thin hair. I have had fine hair tangled at my shampoo bowl from performing teasy lights on them and I actually STRUGGLED to get the teasing removed.
Most of the time, the teasing will come out when the conditioner is applied. You can then follow it with a leave in conditioner, and the remaining teasing will come out easily with a detangling hair brush. But there are those hair types where the hair will tangle if you just look at it wrong, so I would highly suggest avoiding this technique if you have that type of hair.
Oily or smooth hair
The next downside I want to talk about is that this technique does not work well on oily hair. In order for the hair to tease properly, it must be very clean. I’ve had to adjust the technique that I performed on a client because they arrived to their appointment with dirty hair.
I’ve also had to reschedule clients because their hair was so dirty and it would have hindered my ability to color it to the best of my ability. **HINT** This is something to keep in mind before your next hair appointment. Please don’t show up with very dirty hair! It’s a myth that it colors better.
This also goes for hair that is so extremely healthy that it’s slick and smooth. Slick hair is hard to tease, and you’re better off using a different technique than attempting to get certain hair types (typically coarser hair) to hold a tease well.
How to do the teasy light highlight technique
Below you can see my Youtube video where I demonstrate how I do the teasy lights technique on one of my mannequins:
***Since I’m sharing the products that I love to use with you guys, this page includes affiliate links to these products. If you take action and purchase a product through clicking one of my links, I’ll make some commission money from it at no extra cost to you. This enables me to be able to continue giving you awesome hair tips, so thanks! ***
Tools used:
- Highlighting Combs
- Teasing Comb
- Teasing Brush
- Large Color Brush
- Color Brush
- Highlight Board
- Small Foils
- Large Foils
- Purple Shampoo
- Purple Conditioner
- Detangling Spray
- Detangling Brush
- Boar Round Brush
- Dyson Hair Dryer
Conclusion
If your stylist has ever teased your hair before highlighting it, she was performing a technique called teasy lights. These are highlights applied to teased hair in order to diffuse the line of demarcation. This blends the root color into the highlight color for a seamless blend.
The benefits of teasy lights are:
- Only 1 process necessary (no root shadow needed)
- Saves time
- Saves client money
- Creates a blended highlighted look
- Produces long-lasting and lived-in hair color
The negatives to teasy lights:
- The hair can become tangled easily (especially fine hair)
- Oily and/or slick/smooth hair does not tease well (usually coarse or dirty hair)
If you have any questions or comments about teasy lights, drop them for me below! And make sure you subscribe to make every day a good hair day!
share item
