

How To Do A Strand Test & Why It’s Important For DIY Hair Color
A strand test is the number one key to avoiding hair coloring disasters. Think of it as insurance you get before dying your hair. It allows you to see how your hair will react to the dye before you color your entire head. Even though I’ve been a professional for 18 years, I STILL regularly perform strand tests! This just shows how crucial they are for DIY hair color, especially if you’re not a professional. It’s the best way to avoid a costly mistake. So in this post, I’ll guide you through how to properly perform one!
I suggest reading through this blog post, then watching my YouTube tutorial above to learn exactly what you need to do to perform a strand test yourself from home.
What does a strand test determine?
There are many different uses for a strand test, and I’ve listed the most common below. I’ve also linked each one to a blog post that may be helpful if that situation pertains to you.
- What colors and ratios to mix
- What tones look good with your skin tone
- What developer to use
- How well the color grows out against your natural hair
- How the color will fade
- If your hair can handle bleach
- How light can your hair get in a single session
How to do a strand test at home
Once you have a general idea of what color you want, it’s time to perform your strand test to determine what formula you should use to get you to your goals. I recommend choosing 3 or 4 different formulas just to give you an idea of what direction to go in.
***Since I’m sharing the products that I love to use with you guys, this page includes affiliate links to these products. If you take action and purchase a product through clicking one of my links, I’ll make some commission money from it at no extra cost to you. This enables me to be able to continue giving you awesome hair tips, so thanks! ***
Step 1: Mix about 5 grams of color with your desired formula
Since we’re coloring just a small section of hair, you only need a small amount of color to avoid wasting it. Since color is mixed with developer, it oxidizes after about an hour and then stops working. This is why you can’t save the leftover hair color in the bowl and use it for next time.
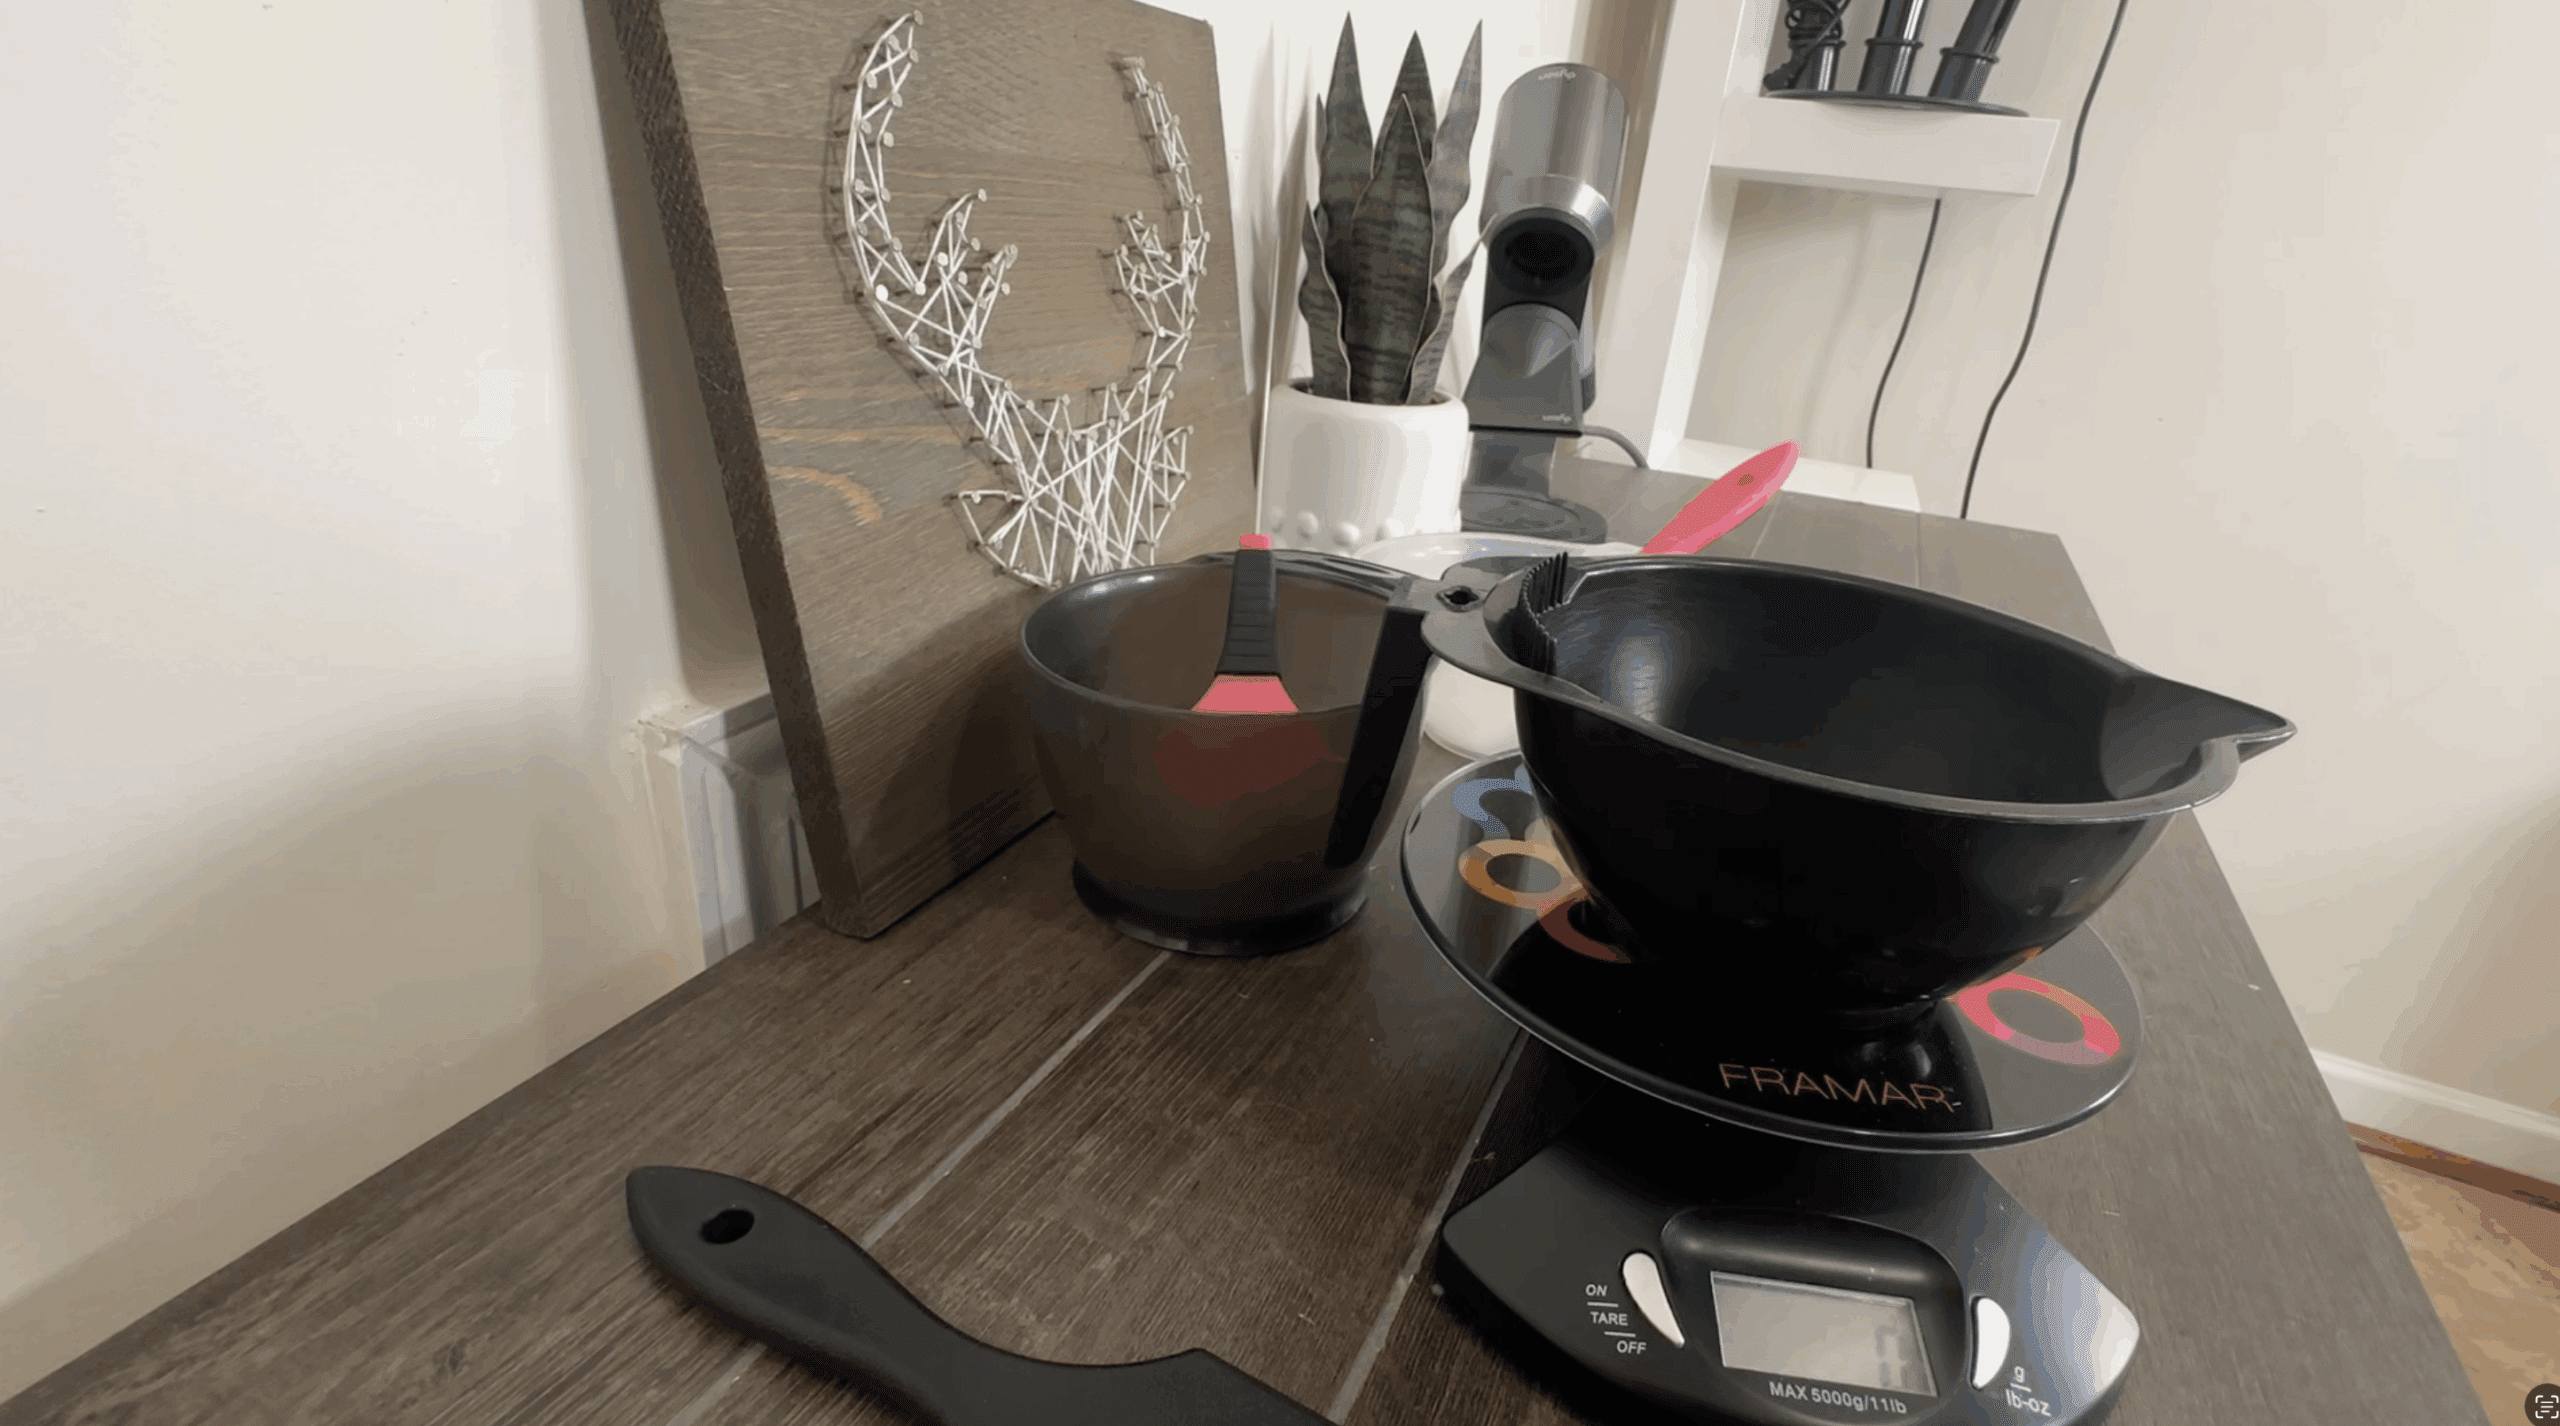
Because of this, I suggest using a digital scale and measuring your hair color in grams rather than ounces. You can be much more precise this way when mixing an extremely small amount of hair dye.
Grams allow you to ratio the color into very small increments. For example, you can mix 3 grams 6N, and 1 gram of 7C for a color that’s 3 parts 6N and 1 part 7C. If we were doing this in ounces, it would be difficult to mix up a small amount with this ratio.
And as far as developer goes, you should always follow the manufacturer’s recommendation for the ratio. Some lines are 1:1 (1 part color to one part developer), others are 1:1 1/2, and others are 1:2.
If you’re testing multiple different formulas, it’s best to use different colored brushes and bowls to help avoid getting your colors mixed up. I use the darkest bowl for the darkest color etc.
Step 2: Apply the strand test underneath your hair
Ideally, you’ll want to apply the strand test in the back or underneath of your hair, so you don’t have a chunk of random color in the front of your head.
That said, sometimes I do need to apply the strand test to the top of my hair if I want to test it against my natural grays that are coming in. I don’t have much gray in the back and underneath, but honestly as a hairstylist, I don’t mind the chunk of color. I just do it on one side of my head so that I can part my hair the other direction and cover it up until I do the full color.
When you take your section of hair for the strand test, make it about an inch long. Any larger and it will be pretty noticeable, any smaller and you won’t be able to see it well enough.
I like to use my highlight comb and pretend I’m putting a single chunk highlight in my hair. It’s best to keep your strand test in foil so that you don’t get the color on the rest of your hair.
Be sure to saturate the strand really well so that the color comes out evenly; otherwise you’ll have blotches.
Step 3: Process for the manufacturer’s recommended time
Depending on what type of color or formula you’re testing determines how long you should process. Ideally, you’ll want to follow the manufacturer’s guidelines on process time for best results.
Just because it’s only a small section does not mean that you’ll process it for less time.
You may even be testing a double process here, like testing a bleach and tone. In this instance, you’ll follow all the same steps for both processes. Including full process time for both the bleach and the tone.
Step 4: Rinse the strand test in the sink if possible
If you can, I suggest rinsing the strand test on its own in the sink as opposed to in the shower while washing all of your hair. This is to stop the color from bleeding into the rest of your hair. Now, if you’re not a blonde or don’t have any blonde highlights in your hair, this doesn’t really apply to you. But blondes should follow this step.
Bleeding is where blonde hair picks up the tones from the other color that is being rinsed. This is especially true for bright or dark colors like reds and blacks. Your blonde could turn pink, light orange, or green if you’re using a very dark color.
When rinsing your strand test, you’ll rinse until the water runs clear, shampoo, and condition as usual. I then suggest blow-drying so you can get a good idea of how the color came out!

Conclusion: Why a strand test is essential for at-home hair color
If you’re planning to color your hair at home, a strand test isn’t optional; it’s essential. It helps you determine the right hair dye formula, developer strength, and how your hair will react to the color before committing to a full application.
In this post, I broke down how to do a strand test step-by-step: from mixing small, precise batches of color to applying it underneath your hair, processing it for the correct amount of time, and rinsing without affecting the rest of your hair.
Whether you’re using bleach, permanent color, or trying a new tone, this simple process can save you from costly mistakes. Even as a licensed professional with 18 years of experience, I still test formulas this way.
Leave me any questions you have in the comment section, and make sure you subscribe if you want to make every day a good hair day!
share item
