
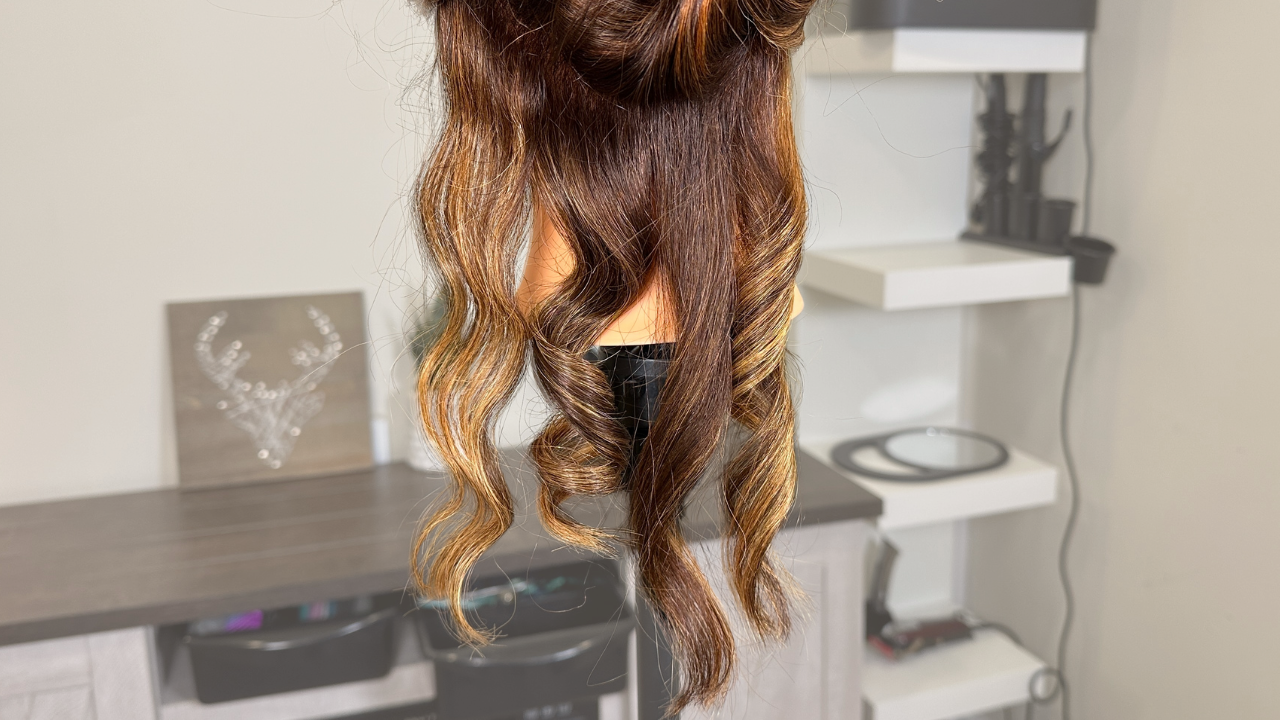
4 Styles Of Flat Iron Curls & Common Curling Mistakes
In this post, I’m going to teach you 4 different ways to curl your hair with a flat iron to achieve different styles of curls. I’ll also cover the most common mistakes I see clients make when first learning how to curl their hair with a flat iron. Check out my YouTube video below for a full tutorial on how to do each of these different techniques.
I prefer curling with a flat iron instead of a curling iron because you can customize the shape of the curl so much more with just one tool. Most of us all have a flat iron, so using the same tool for all hairstyles eliminates the need for spending unnecessary money on multiple tools!
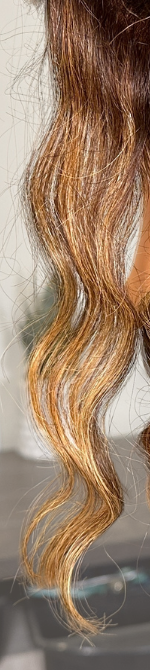
1. Horizontal curls
When I’m referring to horizontal curls, I’m talking about the angle that you’re holding your iron. When you hold the iron horizontally (perpendicular) to the head, you’ll achieve a much bouncier curl.
These curls are great if you’re looking for maximum volume and body, especially if your hair has a hard time holding onto a curl. This is common in naturally straight hair, especially if it’s coarse.
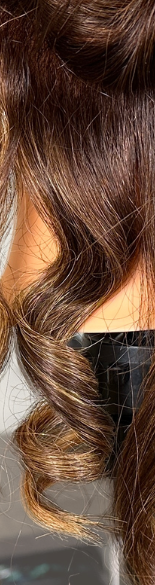
2. Vertical curls

Vertical curls are created by holding the iron completely vertically from top to bottom. This is putting less bend to the hair, which will ultimately create a looser and longer curl.
These curls are best if you’re looking for a long-lasting curl, but you don’t want it to be too tight or bouncy.
3. Leaving the ends out

Leaving the ends out when curling will give you more of a wave than a curl. It often has a grungier look and is not meant to create bouncy curls.
This method can be done with either vertical or horizontal curls, though I personally think it blends best when done with vertical curls, as there isn’t as much distinction from the curled section to the uncurled section.
This look is best if you’re just looking for some movement and texture to your style, rather than full on curls. Keep in mind that these curls won’t last as long as the previous two styles.
4. Waving with a flat iron
The last method is technically waving the hair, not curling it. And this technique produces a look that is similar to what a three-barrel waver produces.
In this method, you’ll take the flat iron and bend it in opposite directions every inch or two down the hair strand. If you want more waves throughout the strand you’ll want to switch the angle every inch, and if you want less waves & a looser look than you’ll bend it every 2 inches.
You can do this holding the iron vertically or horizontally, though I think it comes out best when done holding the iron horizontally.
Keep in mind that these waves will last the shortest amount of time of all four of these methods, so if you’re looking for long lasting or your hair has a very difficult time holding a curl, these might not be the best choice for you.
But if you’re looking for only minor movement and waves to the hair instead of volumous curls, these are the perfect choice for you.
Common flat iron curling mistakes/problems
Now that we’ve covered several different methods for curling your hair, let’s talk about some of the most common problems that can arise.
One side of my curls come out differently than the other side
If you’re finding that one side of your head comes out completely differently than the other side, you’re not alone! This is actually the most common problem I see when clients are learning to curl their hair.
The reason this happens is because you’re likely not ambidextrous. Because of this, you’ll likely hold the iron with either your left or right hand, no matter which side of your head you’re curling.
Usually, this means that you’ll end up holding the iron vertically on one side, and horizontally on the other. It can be tough to get the exact same angles with the iron when working on the opposite side of your head.
Keep this in mind when you’re curling your hair, and make sure your iron is being held at the same angle for either side. In this tutorial below I cover in detail how to curl your hair with a flat iron, and include tips on getting the angle right on both sides.
The ends are curled tighter than at the root
The next issue that people commonly run into is that the ends of the hair wind up being way tighter and bouncier than the root of the hair.
This happens because the ends of your hair are typically a little thinner, finer, and potentially have a little more damage than closer towards the root. Because of this, the hair dries quicker and also takes to the iron much quicker.
To fix this, you’ll want to make sure you’re moving the iron slowly towards the root, and speed up your pass as you make your way down to the ends of your hair.
When using a curling iron, we often start by curling the top of the hair first, and leaving the ends for last. This ensures that the healthier hair at the top is held on the iron for longer than the fragile ends are.
My curls are too tight
If your flat iron curls end up being too tight, there’s actually a number of different things you can try to result with looser curls or waves.
Aside from choosing vertical curls over horizontal, leaving the ends out, or waves, you can:
- Pull the flat iron straight over the curl to loosen it
- Use a lower temperature
- Make quicker passes
- Take larger sections
If you’d like to learn more about what temperature you should use your iron at based on your hair type, see my post here.
My curls always fall out
Now if you have the opposite problem from above, let’s give you some tips to increase the longevity of your curls.
***Since I’m sharing the products that I love to use with you guys, this page includes affiliate links to these products. If you take action and purchase a product through clicking one of my links, I’ll make some commission money from it at no extra cost to you. This enables me to be able to continue giving you awesome hair tips, so thanks! ***
- Blow-dry your hair with high hold hair gel before curling it
- Use a high-hold thermal protectant on each section
- Do horizontal curls instead of vertical curls or waves
- Use a flat iron instead of a curling iron to curl the hair
I used all four of these tips regularly whenever I had wedding, prom, or other special event hair styling to do, and the client informed me that their hair never holds a curl. This system never failed me!
What flat iron should I buy?
If you’re in the market for a new flat iron, I go in-depth on how to select an iron based on your hair type in this post here.
BUT my absolute favorite iron is made by Amika, and you can find it below:
The Confidante Moisture Maintenance Styler
Conclusion
Flat iron curls are such a versatile way to style your hair, and with these four techniques, you can create a variety of looks using the same tool you probably already have at home. Whether you’re going for big, voluminous curls, soft waves, or a lived-in texture, it all comes down to the angle you hold the hair at, section size, and consistency. Don’t stress if things don’t come out perfect the first time—learning how to curl with a flat iron takes practice, but once you get the hang of it, it’s a total game-changer.
Make sure to check out the full tutorial on YouTube for a step-by-step walkthrough, and don’t forget to pin this post so you can refer back anytime you need a refresher. Happy styling!
share item
